The Control Panel
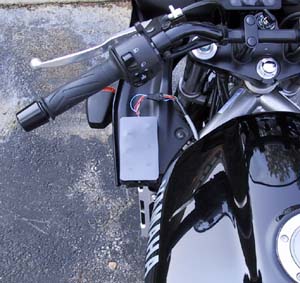 I constructed my control panel from a small project box. I began by cutting square holes in the top then installing snap switches on sections of 4-40 all-thread. The snap switches I got came with a rocker arm with a small roller on it, presumably for use in detecting a closed door or lid. The switches were secured on the all thread via nuts and lock washers. A section of PVC was epoxied to the top of the project to provide a waterproof surface (I don't know how waterproof the seal is though.) The PVC turned out to be just flexible enough to allow for button presses and not hold the buttons down. Currently, the markings on the buttons are done in Sharpie and the panel is secured to the bike with Velcro.
Wiring the Bike
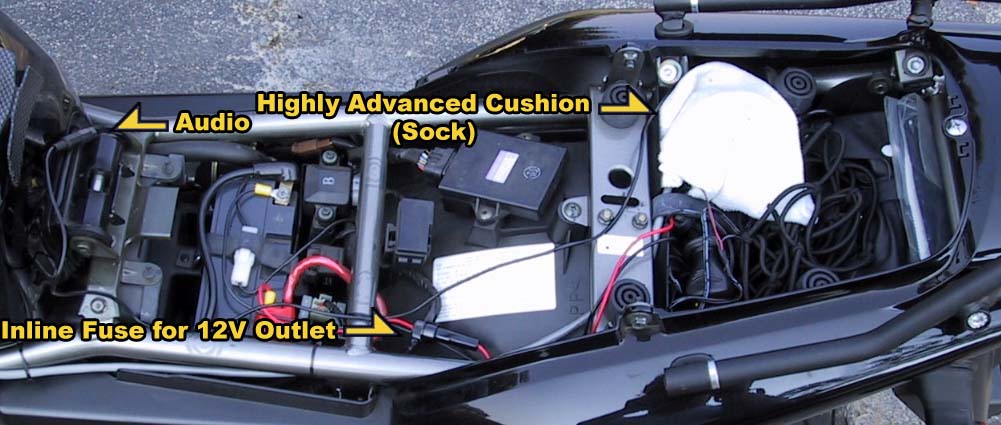
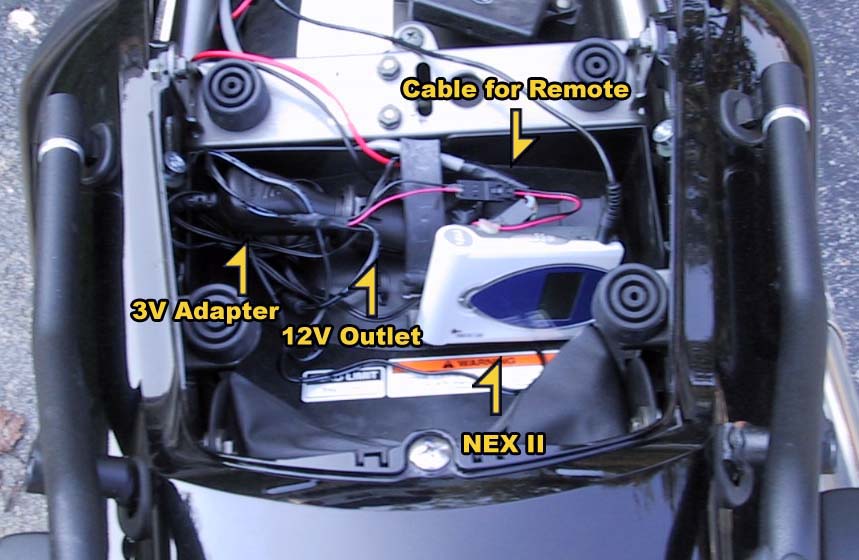
On the bike, I wanted to store the Nex II under the seat so I needed 12V power to the "cargo" area, stereo headphone cable to the front of the seat, and a 7 wire extension to the front for the control panel. I installed a 12V outlet (with in-line fuse) directly from the battery and constructed a short audio extension to run to the front of the seat.
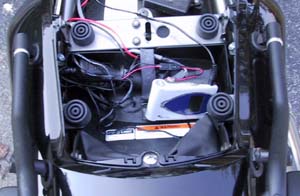
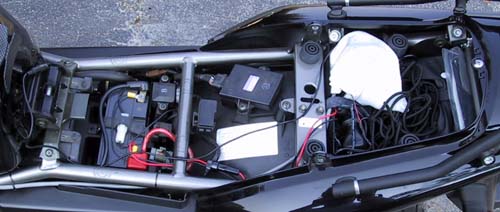 I ran a 10 conductor cable to the front in case I find something else that uses 3V that I want to power. Perhaps an electronic compass . . .The 3V adapter and 12V outlet snug up pretty well in the cargo area with the Nex II. I used a highly advanced organic fiber cushion to keep the Nex II from getting banged around too much during the ride.